
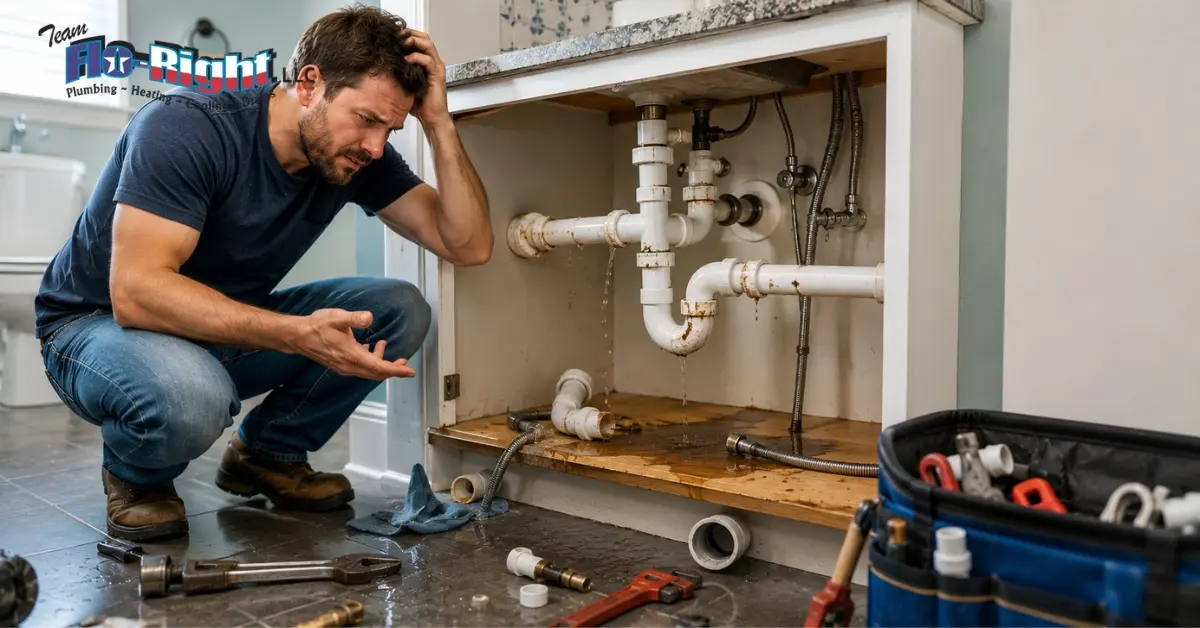
Plumbing installation mistakes in Austin often come down to three major issues: skipping the permit, using the wrong pipe for the job, and closing up the wall before testing for leaks. Each one is easy to overlook mid-project. Here’s what to watch for, especially if you’re working on a home in Austin, TX.
Skipping a Permit or Code Check
Skipping a permit doesn’t stop the installation from working, but it leaves you with no proof the job meets code. The City of Austin’s Development Services Department requires a permit for most plumbing installation work, including water heaters, repiping, and any gas line changes.
Without one, nobody confirms your work meets the Texas plumbing code, which is based on the International Plumbing Code (IPC). That missing paperwork often surfaces later, when a home inspector flags it during a sale or your insurance denies a claim tied to unpermitted work.
A permit isn’t just a formality. It triggers a rough-in inspection and a final inspection, so a licensed inspector checks the work before the wall closes and again once everything’s connected. Skip that step, and there’s no record the installation was ever checked at all.
| Job Type | Permit Usually Required in Austin? |
| Faucet or fixture swap | No |
| New water heater installed | Yes |
| Full or partial repipe | Yes |
| Gas line installation or extension | Yes |
| Sewer line replacement | Yes |
| Adding a new fixture (sink, tub, toilet) | Yes |
Using the Wrong Pipe or Fitting for the Job
Using the wrong pipe material or fitting size causes leaks and corrosion that show up months after the job looks done. Austin’s hard water wears through cheap fittings fast, so the wrong choice costs more here than it does in soft-water cities. Mixing metals, like connecting copper to galvanized steel without the right fitting, causes corrosion at the joint over time. Austin Water also treats the supply with chloramine, which breaks down some rubber gaskets and cheaper plastics faster than chlorine alone.
Here’s a quick look at the most common pipe materials and where each one actually belongs:
| Pipe Material | Best Used For | Common Mistake |
| PEX | Supply lines, repipes | Using it outdoors without UV-rated jacketing |
| Copper | Hot and cold supply lines | Connecting directly to galvanized without a dielectric union |
| PVC | Drain, waste, and vent lines | Using it on a hot water supply line |
| CPVC | Hot water supply lines | Mixing fittings rated for PVC instead |
| Galvanized steel | Older homes, rarely used new | Corrodes fast when paired with copper |
Beyond material choice, fitting size trips people up just as often. A fitting that doesn’t match the pipe’s actual diameter never seats correctly, no matter how well it’s sealed. And in Austin specifically, standard rubber gaskets tend to break down faster than they would elsewhere, since the chloraminated water eats into cheaper rubber and plastic over time.
Not Shutting Off the Water Supply Correctly
Shutting off the wrong valve, or not fully closing the main line, floods the work area before the job even starts. A lot of homeowners shut off a single fixture’s isolation valve and assume the whole line is safe when water is still running through the rest of the system. In Austin, the main shutoff (sometimes called the curb stop) usually sits near the street in a concrete box and needs a meter key to reach, which catches a lot of first-time DIYers off guard.
The right way to shut off water before an installation:
- Locate your main shutoff valve or curb stop before you start, not after
- Turn off the isolation valve at the fixture first, then confirm at the main
- Open a low fixture, like an outdoor spigot, to drain remaining pressure from the line
- Check the water meter to confirm nothing is still running
- Never assume a single valve controls more than the fixture it’s attached to
Poor Sealing and Connections
Under-tightening or over-tightening a fitting, or skipping thread seal tape, leaves a connection that fails quietly instead of right away. A joint that’s too loose lets water seep out little by little. A joint that’s too tight can crack a fitting or strip the threads completely. Both mistakes look fine on install day and only show themselves once water pressure and daily use wear at the connection.
Different pipe types need different sealing methods, and using the wrong one is its own common mistake:
| Connection Type | Correct Sealing Method | Common Mistake |
| Threaded metal pipe | Thread seal tape or pipe joint compound | Skipping tape entirely |
| Copper pipe | Flux and solder, properly heated | Cold or rushed solder joints |
| PEX | Crimp or push-fit fitting, sized correctly | Wrong crimp ring size |
| PVC drain lines | PVC primer and cement | Skipping primer before cement |
A properly sealed joint should hold steady water pressure with no visible drip and no moisture on the pipe or fitting after a few minutes under pressure.
Ignoring Water Pressure and Slope
Installing a line without the right slope or without checking your home’s water pressure causes weak flow or standing water in your drains. Drain lines need a slope of about a quarter inch per foot for pipes two inches and smaller, and about an eighth inch per foot for larger lines, to carry waste water away correctly. Skip that slope, and water sits in the pipe instead of draining, which leads to clogs and odor.
Water pressure matters just as much on the supply side. Most homes run best between 40 and 80 PSI (pounds per square inch). Installing a line without checking pressure, or skipping a pressure reducing valve (PRV) on a home with naturally high pressure, strains every fitting in the system over time and shortens the life of your fixtures.
- Drain slope: about 1/4 inch per foot for 2-inch pipe or smaller
- Drain slope: about 1/8 inch per foot for pipe larger than 2 inches
- Healthy home water pressure: 40 to 80 PSI
- A PRV is worth installing if your pressure regularly runs above 80 PSI
Not Testing the Work Before Closing the Wall
Sealing up drywall or flooring before checking for a leak turns a small mistake into a major repair. A pipe can look fine right after installation and still develop a slow leak once water pressure hits it under normal daily use. Once you close up that wall or floor, a hidden leak can run for weeks, causing water damage and mold before anyone notices.
Real testing takes more than a quick visual check. A proper test includes:
- Running water through every new connection under full pressure
- Watching each joint closely for drips over several minutes, not seconds
- Checking for moisture around fittings with a dry paper towel
- Confirming drain lines flow freely with no standing water
- Leaving the area accessible for a day when possible, before closing up drywall
Underestimating the Job’s Complexity
Treating a water heater, gas line, or main line job like a simple fixture swap skips the safety checks those jobs actually need. These jobs touch pressure, gas, or your home’s core water supply, which is why Texas law requires a plumber licensed through the Texas State Board of Plumbing Examiners (TSBPE) for them. A mistake here goes beyond a leak. It can affect gas safety, flood a room, or turn into a repair that costs more than hiring a professional would have in the first place.
A simple way to check where a job falls:
- Visible and reachable, like a faucet or a toilet: usually safe to handle yourself
- Sealed or pressurized, like a water heater tank: needs a licensed plumber
- Connected to gas in any way: needs a licensed plumber
- Tied to your main water line: needs a licensed plumber
- Required by Texas law to carry a permit: needs a licensed plumber working under an active Master Plumber’s license
How to Avoid These Mistakes
The easiest way to avoid these mistakes is to match the job to the right skill level before you start. Simple, visible fixture jobs are fine to handle yourself. Anything touching your water heater, gas line, or main system, or requiring a permit, needs a licensed plumber. A few habits that prevent most of these problems:
- Test every new connection before closing up any wall or floor
- Pull the correct permit before starting installation work
- Use pipes and fittings rated for your local water type and code
- Know your main shutoff location before you start any job
- Call a licensed plumber the moment a job touches gas, a water heater, or a main line
FAQs
What’s the most common plumbing installation mistake?
Skipping the permit tops the list. The work can still function fine, but the missing paperwork tends to catch up with you at resale or during an insurance claim.
Can a small plumbing mistake cause big damage?
Yes. A loose fitting or a missed slope can leak quietly for weeks. By the time you notice, it has often already damaged the wall or grown mold behind it.
Do Austin homes have specific plumbing risks?
Yes. Mineral-heavy water breaks down cheap fittings faster here, and shifting clay soil puts extra stress on buried pipes, so material choice matters more in Austin than in a lot of cities.
Should I test a new installation before closing up drywall?
Yes, always. Run water through the line and check every connection before sealing anything up. This step catches a slow leak while it’s still an easy fix.
Is it worth hiring a plumber just to avoid these mistakes?
For simple fixture swaps, no. For anything touching a water heater, gas line, or main system, yes. A licensed plumber avoids the mistakes that cost the most to fix later.
Does Austin’s water quality affect plumbing installation?
Yes. Chloramine treatment and hard water both wear down cheap fittings and gaskets faster than in cities with softer, chlorine-only water systems.
Get It Done Right the First Time
A small plumbing mistake almost always ends up costing more than doing the job right the first time. Team Flo-Right handles installation work across Austin and Central Texas with licensed plumbers, upfront pricing, and a final test on every job before we call it done.
